
1. Installing and starting QGIS
1.1 Downloading and installing QGIS
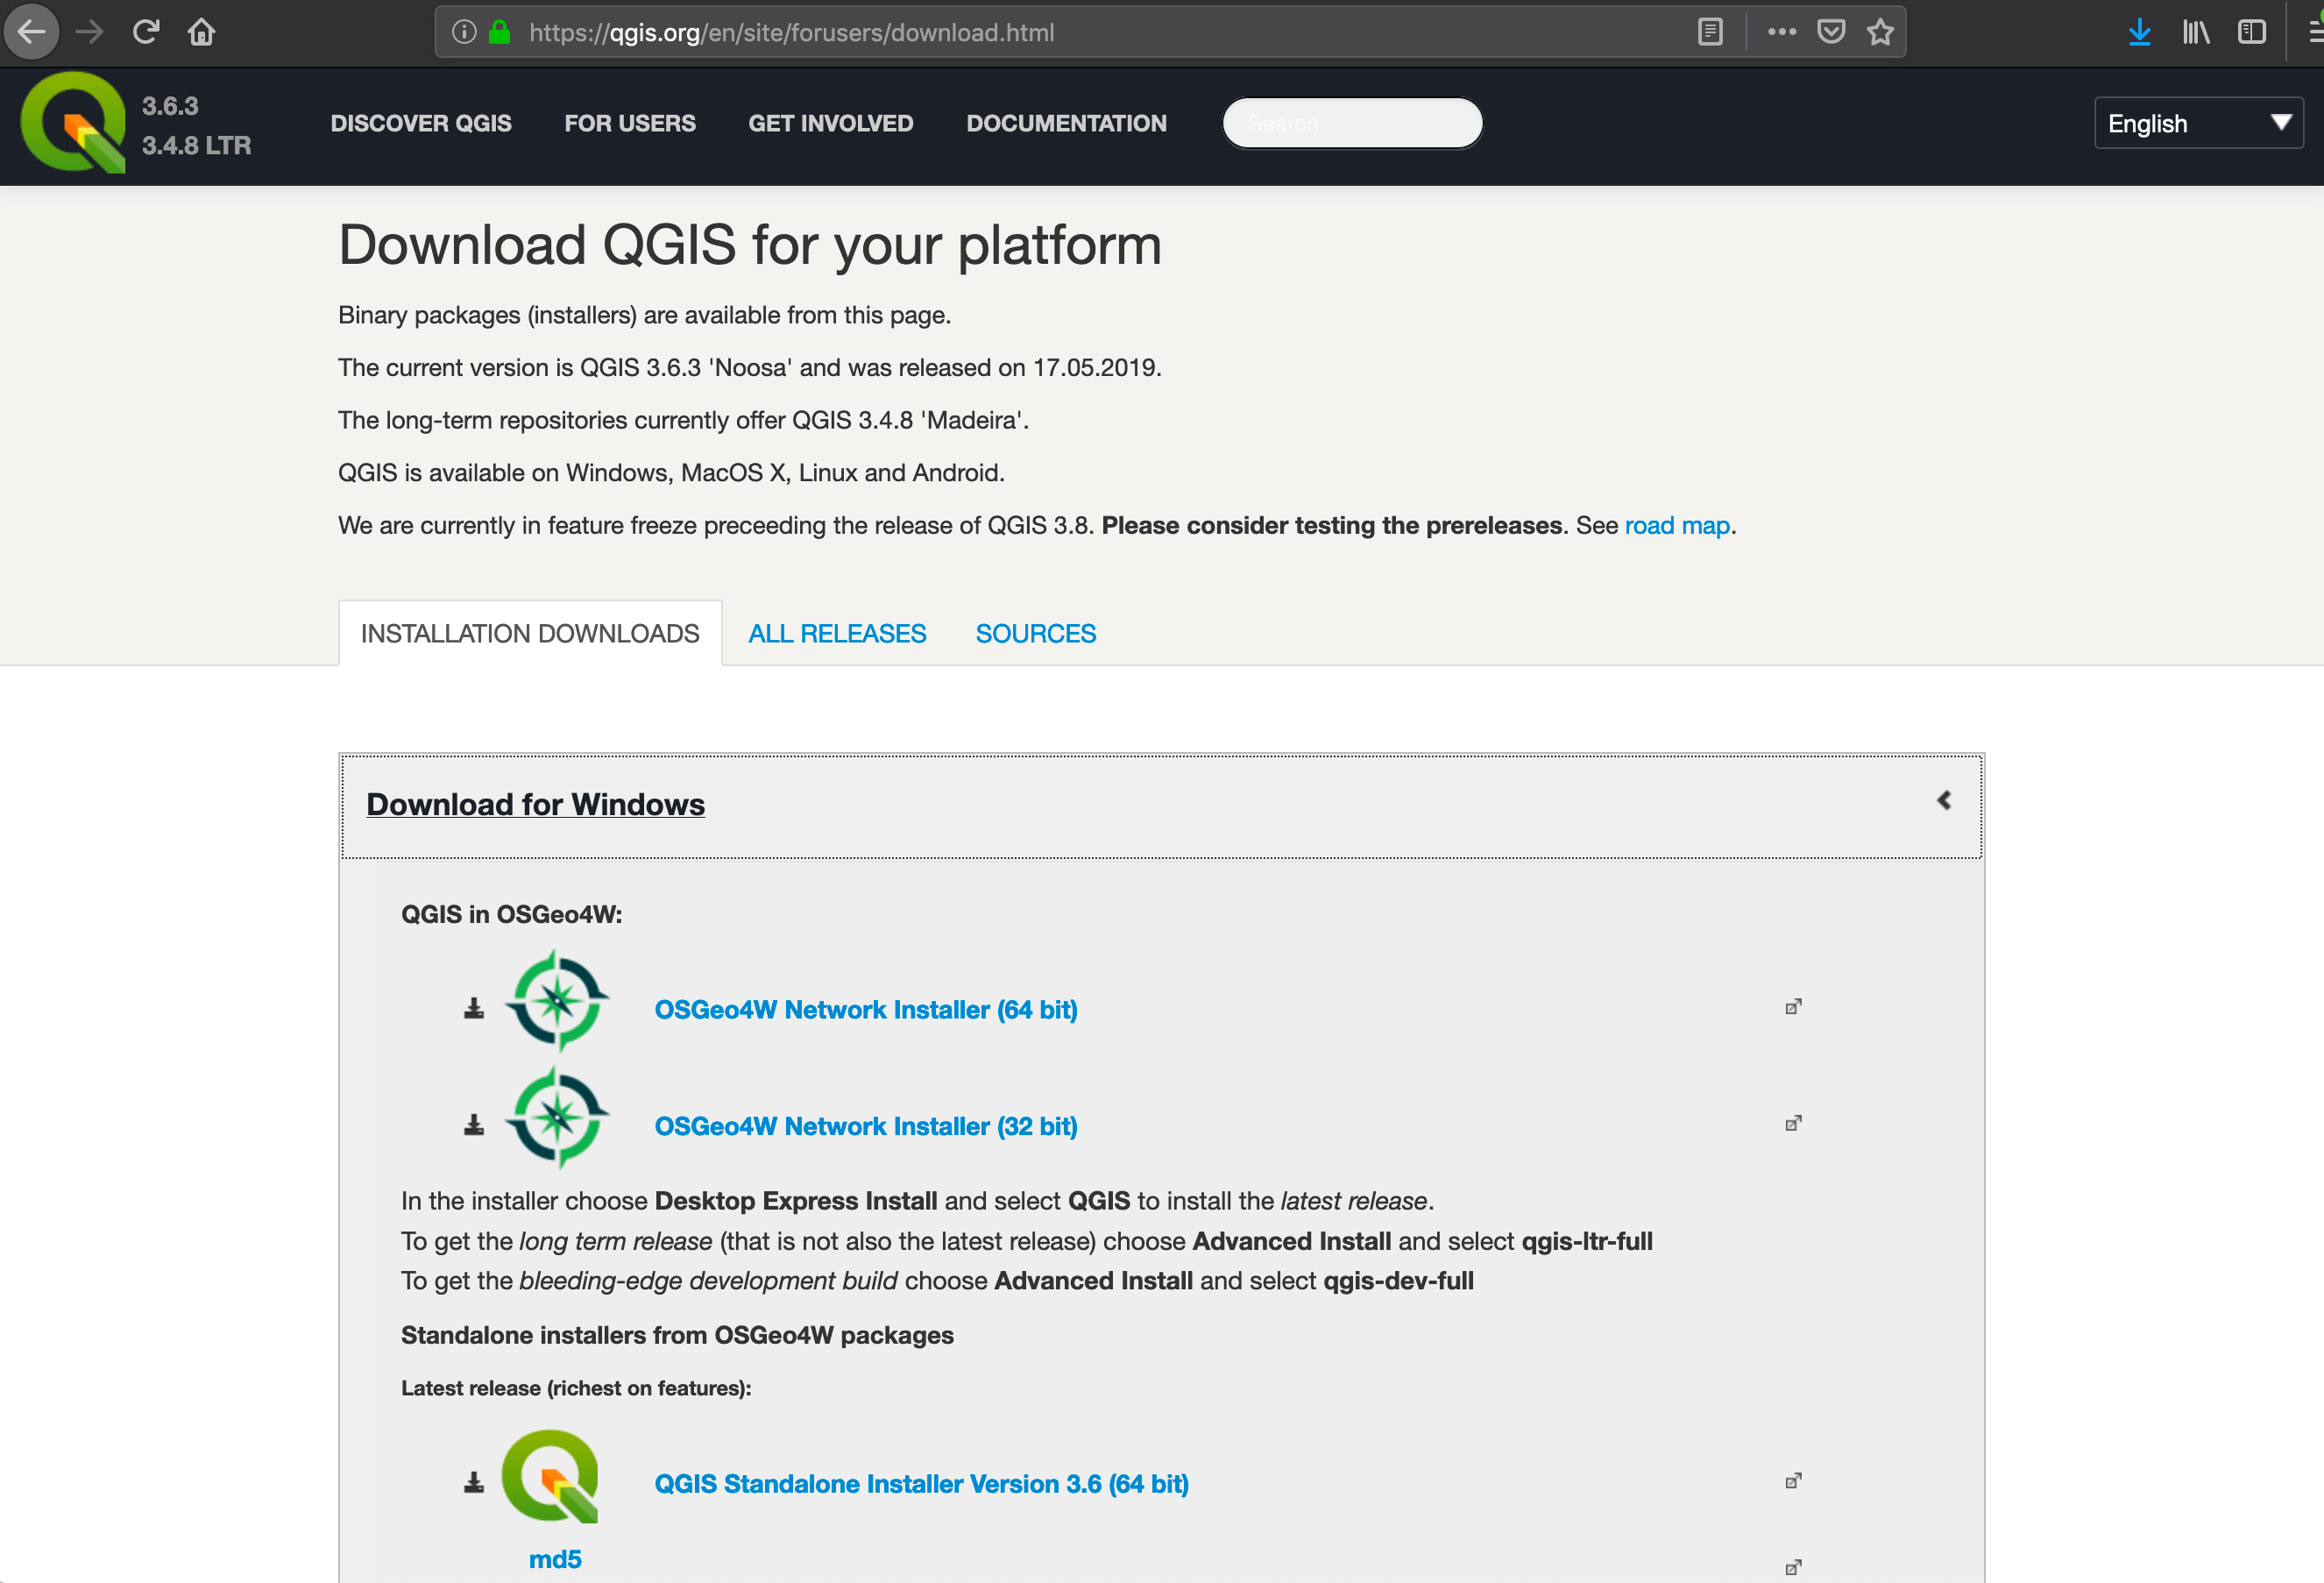
- The latest version is QGIS 3.6, called Noosa and published on February 2019
- The latest Long Term Release (LTR) is QGIS 3.4, called Madeira and published on October 2018.
- Download from QGIS website:
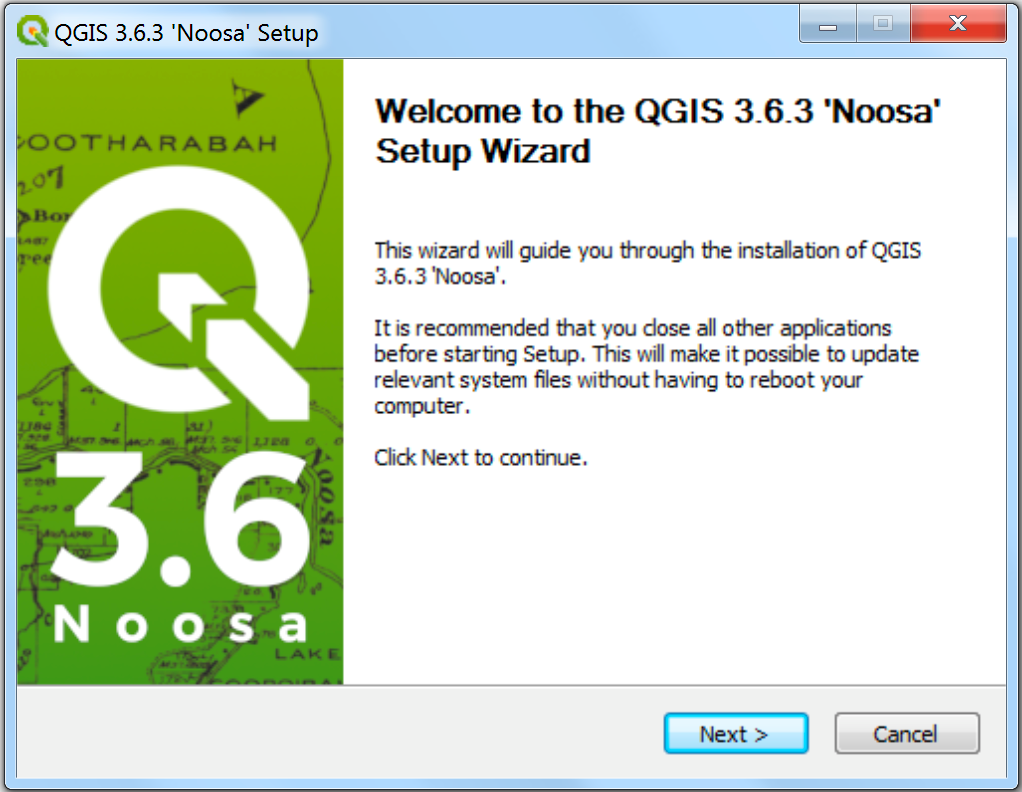
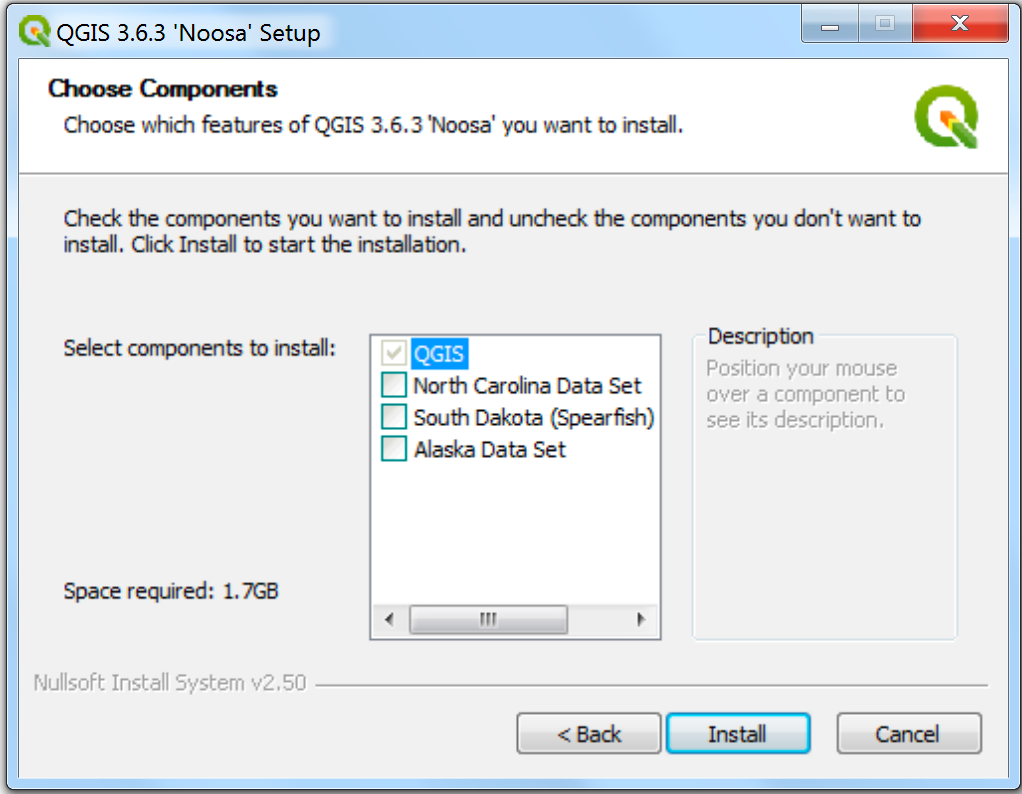
- The installation does not raise any particular difficulties
1.2 Starting QGIS
- Use the QGIS shortcut on desktop :
 QGIS Desktop 3.6.3
 - Or go to: Startup menu / All Programs / QGIS 3.6 / QGIS Desktop 3.6.3
The QGIS graphical interface is divided into 6 zones:
- Menu Bar
- Toolbars
- File browser
- Layers, Legends
- Map canvas
- Locator bar
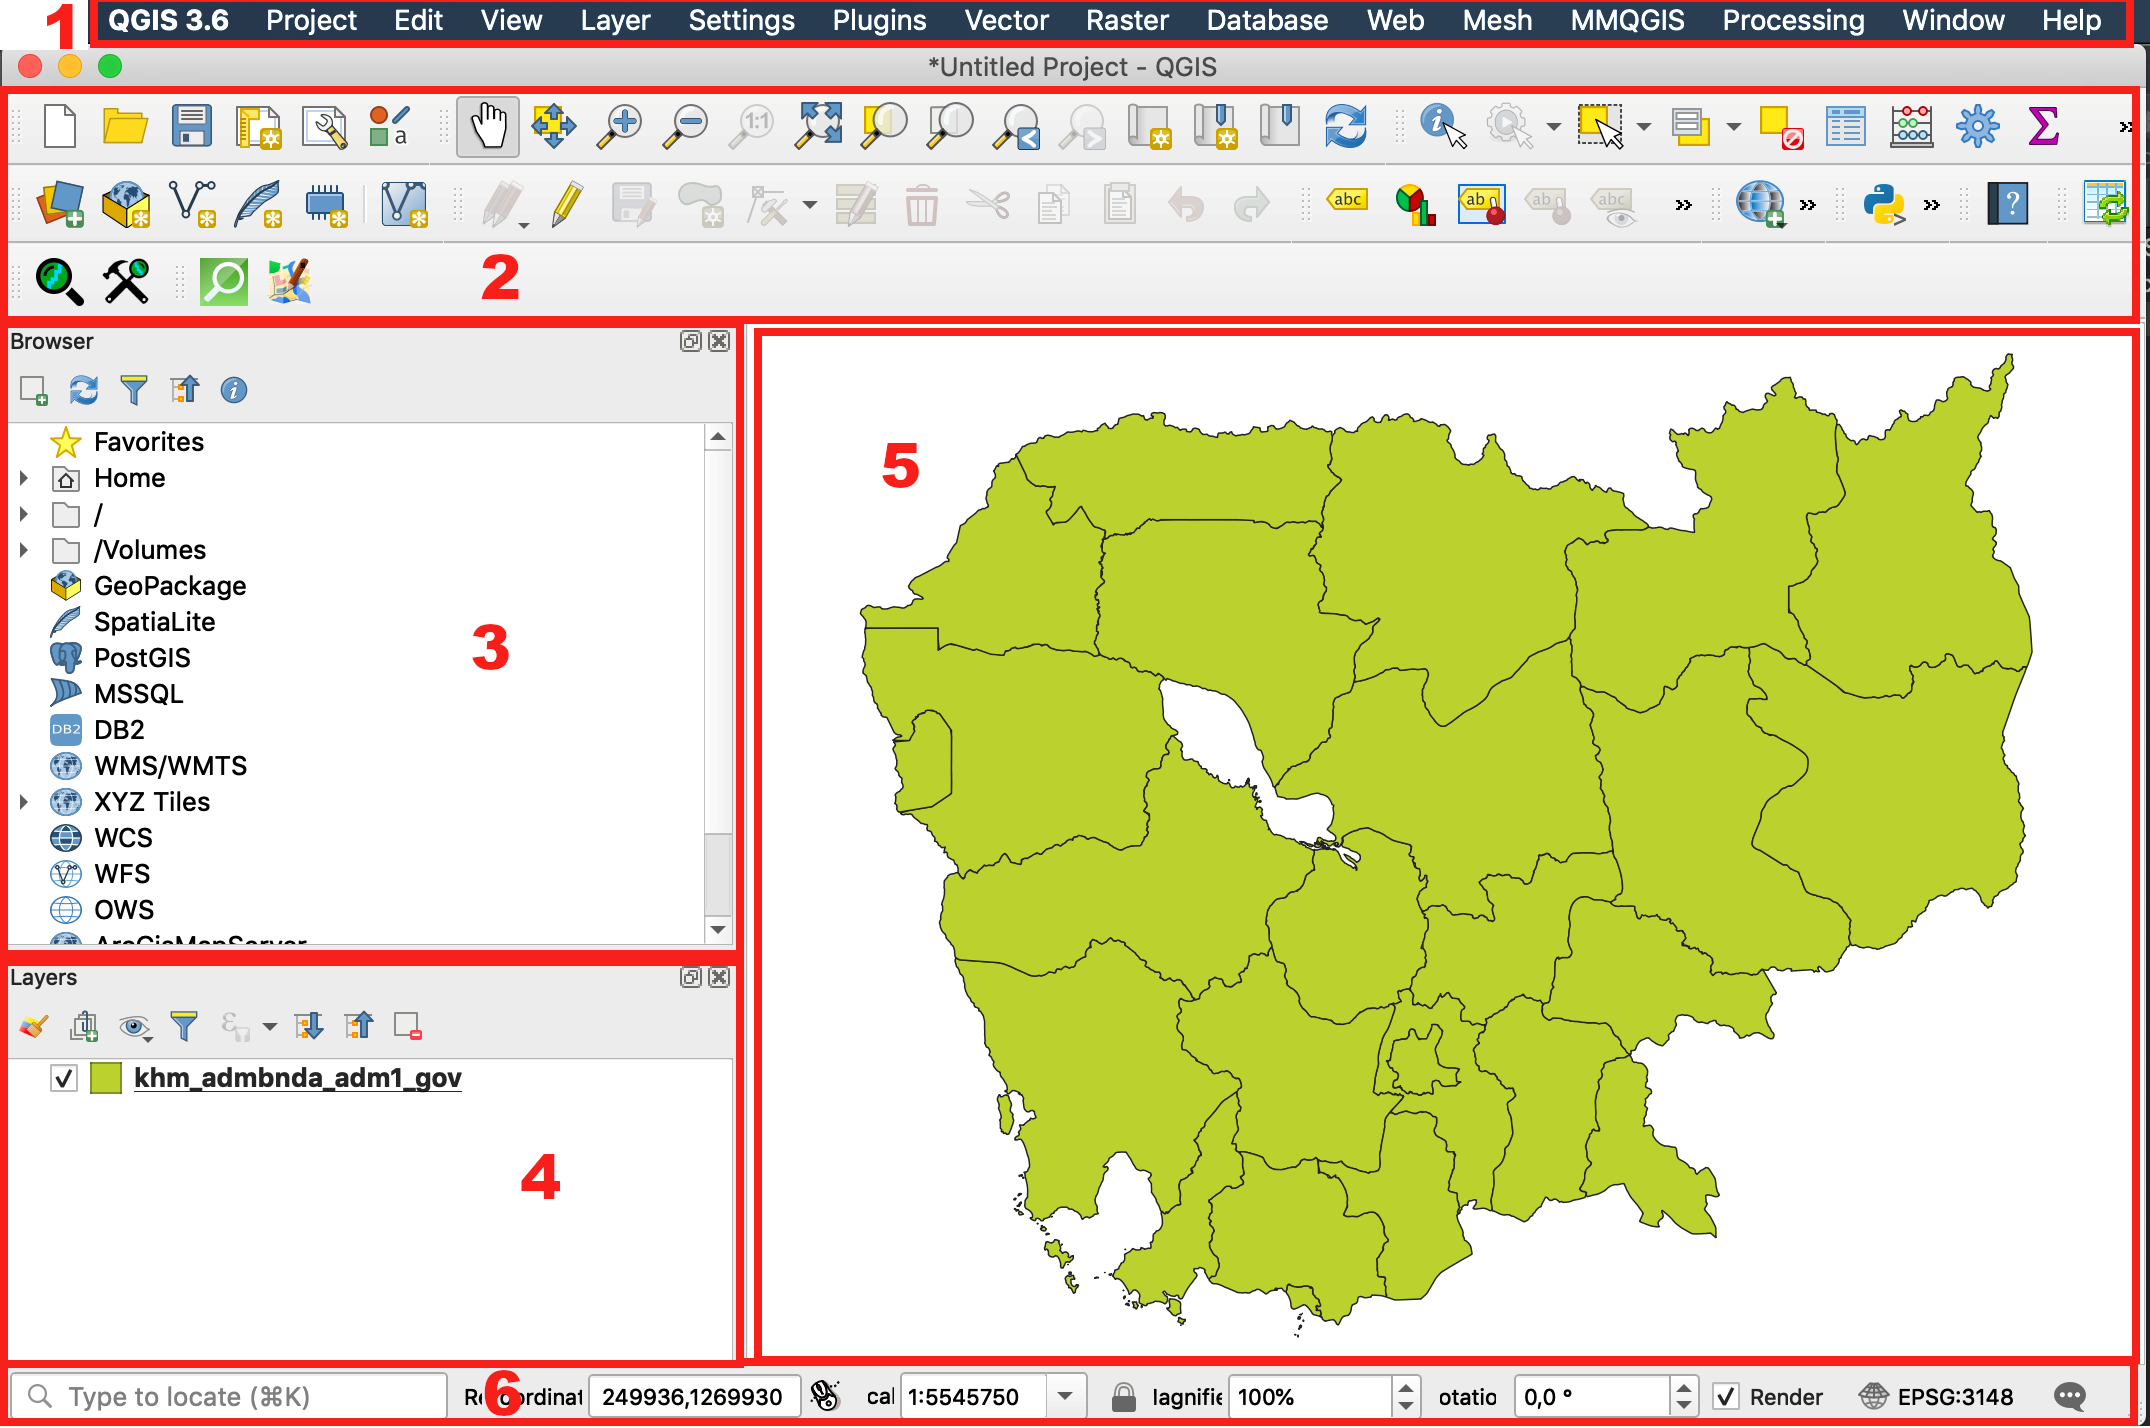
Note : The graphical user interface may appear differently depending on your operating system and configuration of toolbars.
The available toolbars depend on the installed plugins.
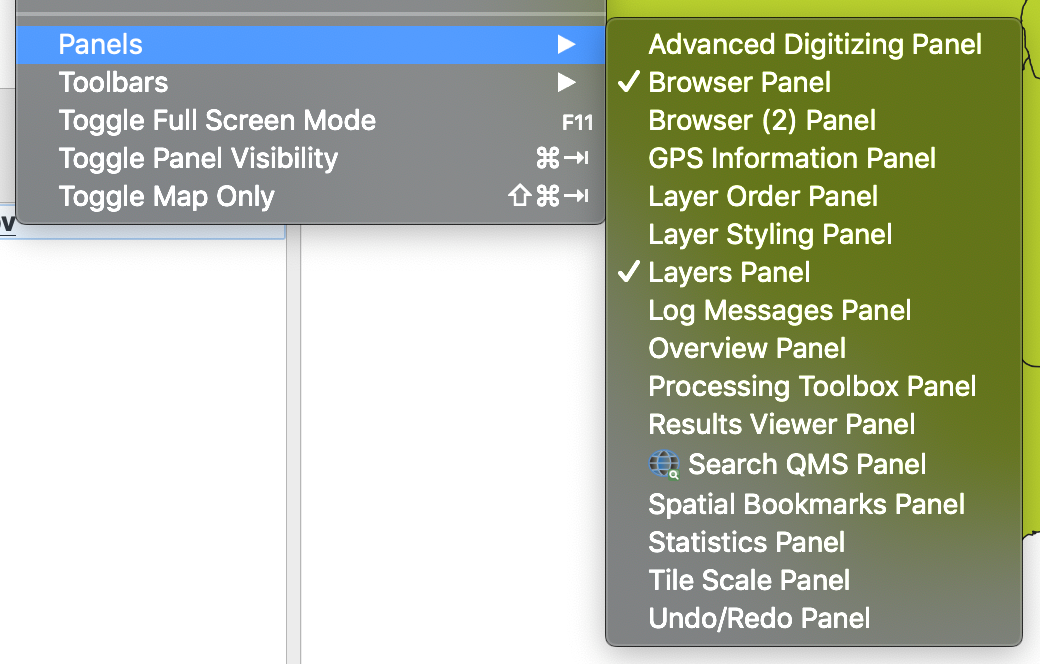
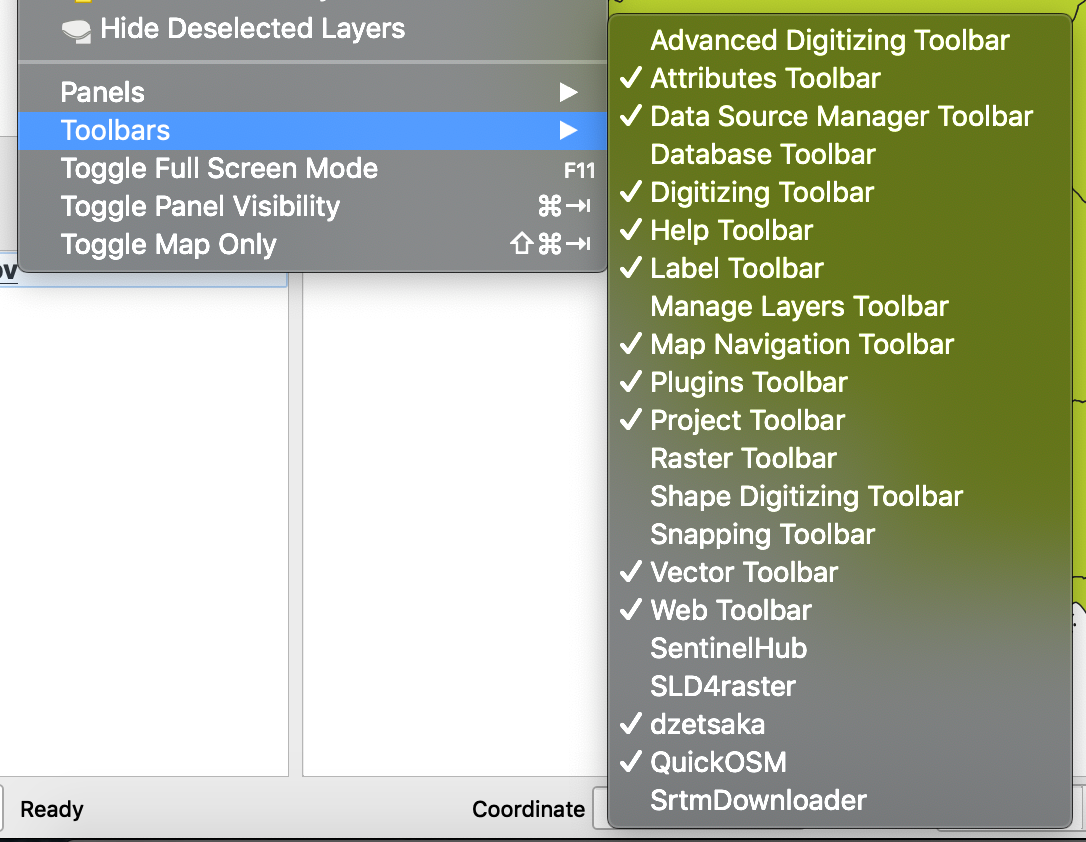
Panels and toolbars can be displayed or hidden by:
- right-clicking in the grey area of the toolbars to open the panel selection (top list) and toolbar selection (bottom list).
- Going to the View Menu / Panels or View / Toolbars
1.3 Specifying QGIS Options
QGIS is developed in English but the GUI can be used in different languages according to the available translations. It is easy to switch from one language to another one:
- Go to the Preferences / General tab
- Select Override system locale if necessary and chose the translation
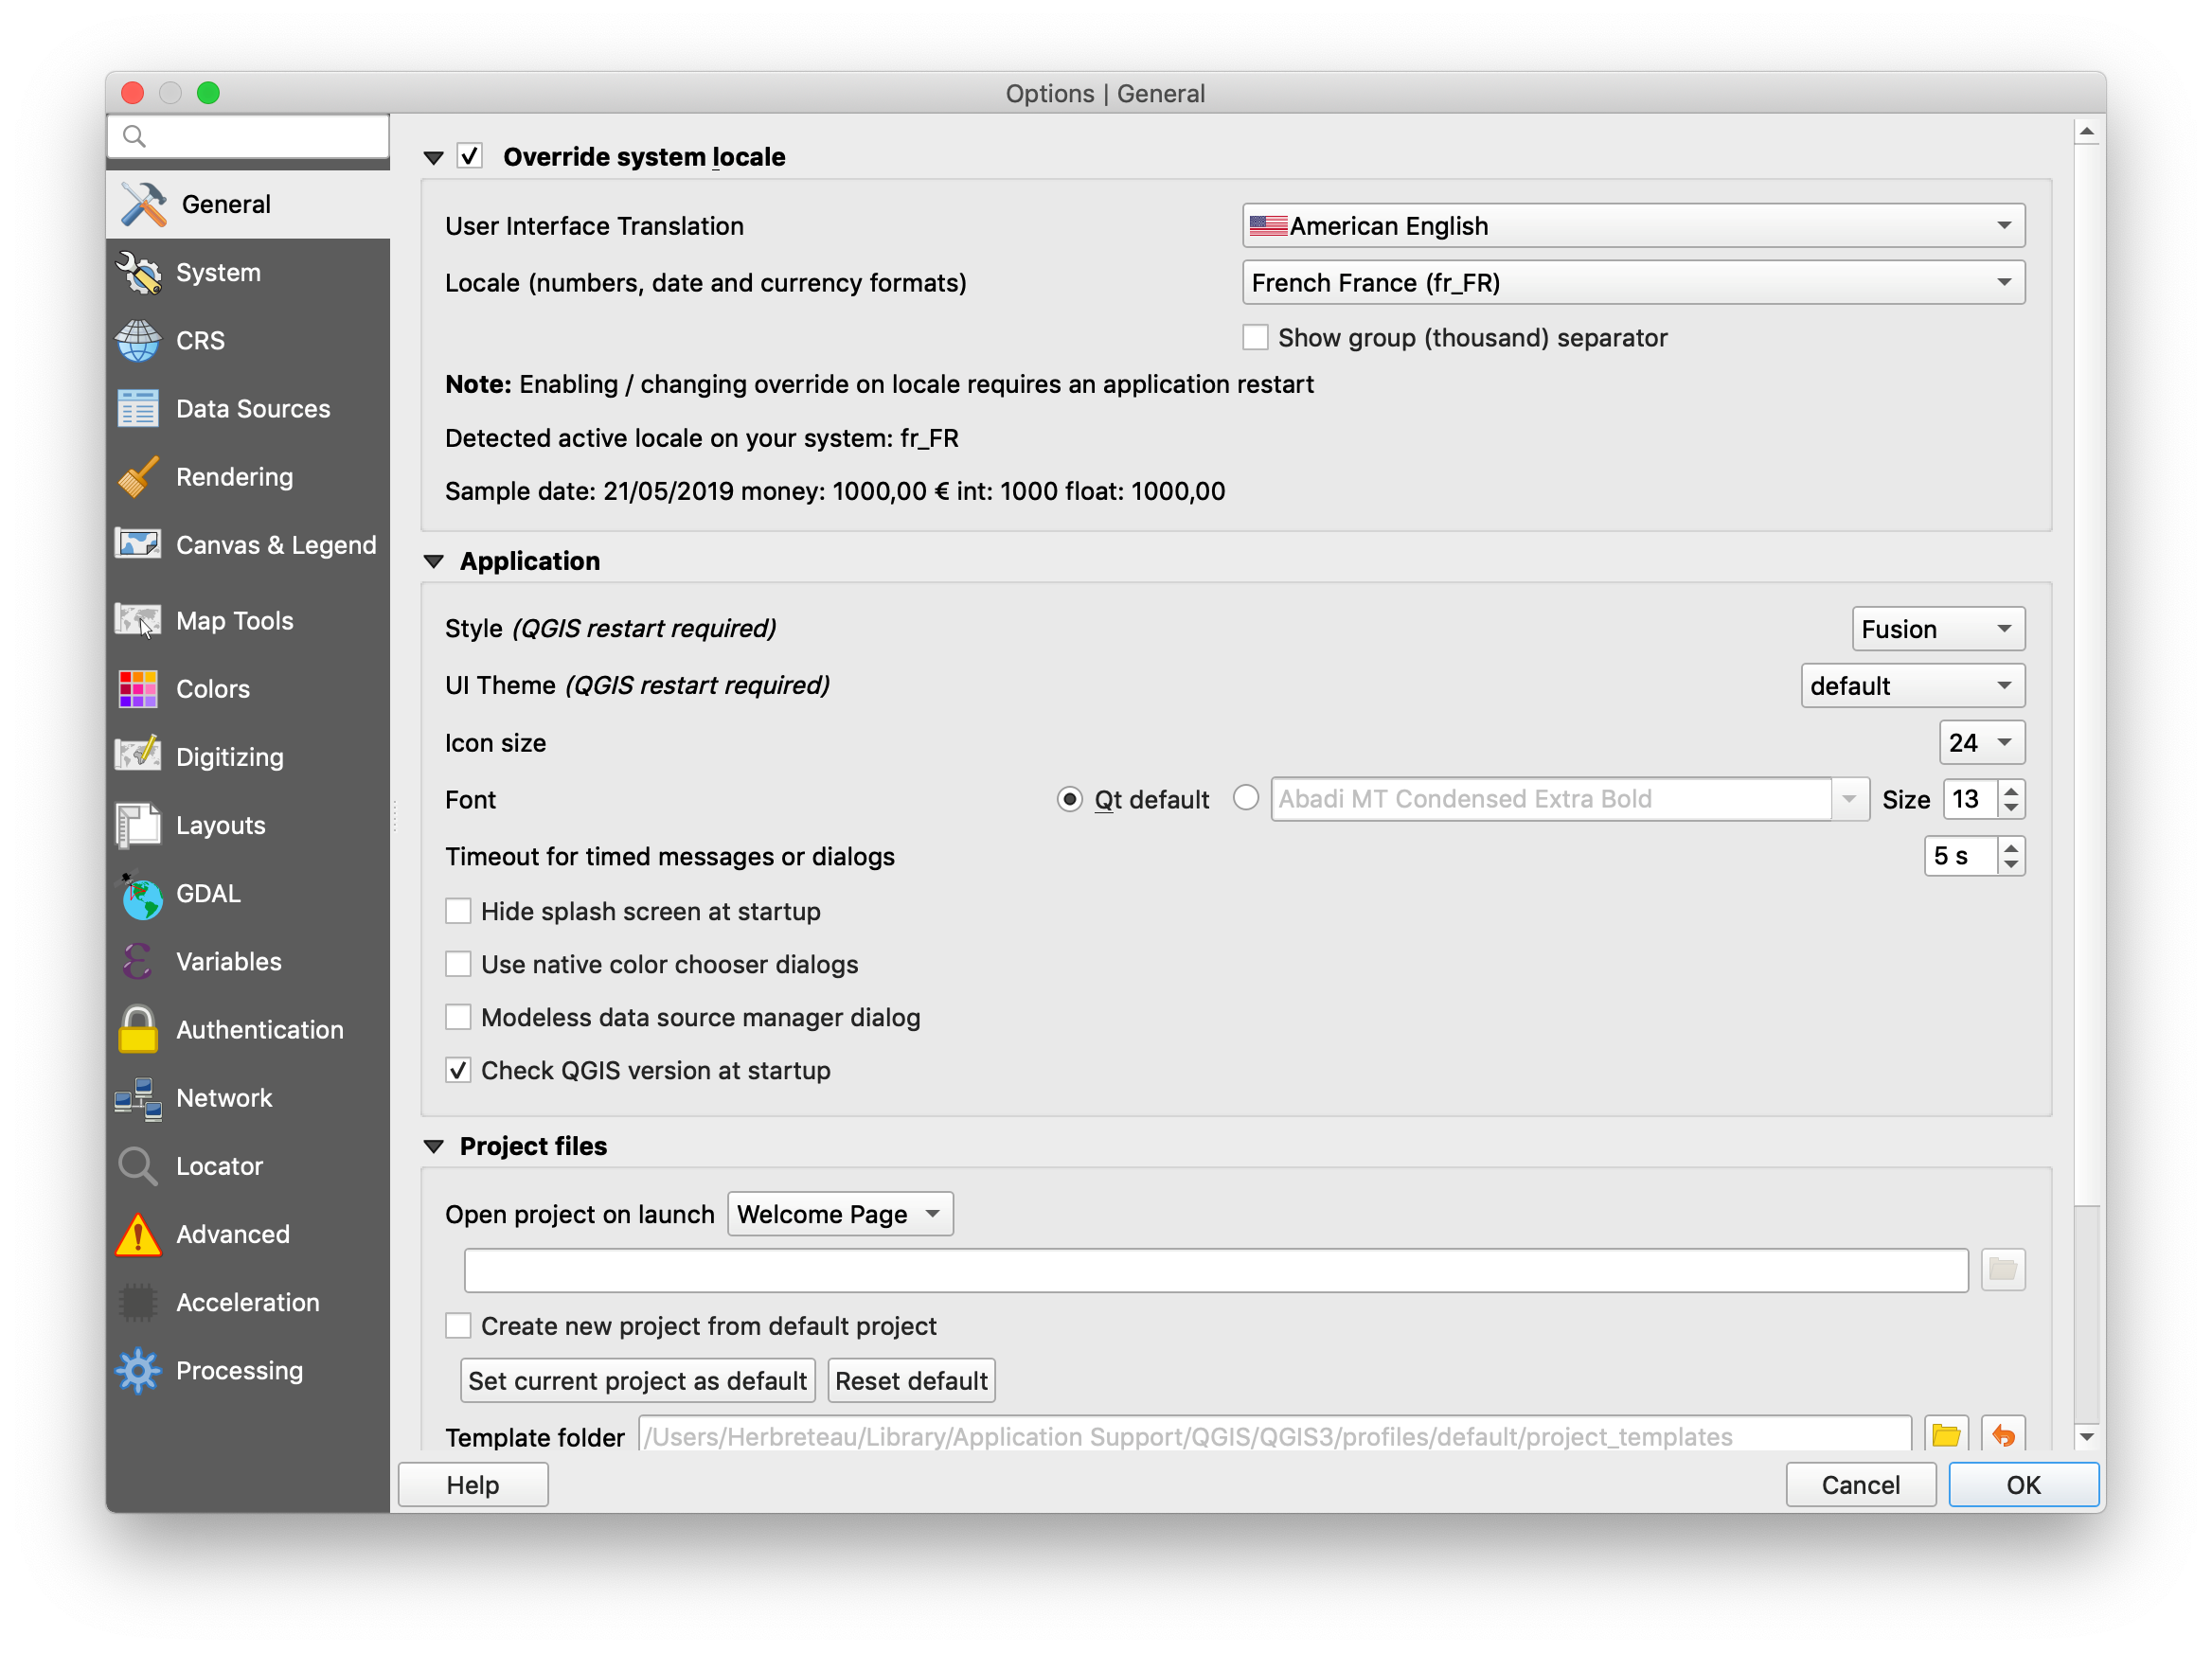
- Verify also the units and date formats in the Locale list.